Ensuring the quality and compliance of products before they are shipped to customers is crucial for any business. Pre-shipment inspections (PSI) help identify and rectify issues, ensuring that only high-quality products reach the market. This comprehensive step-by-step guide outlines the effective pre-shipment inspection process, best practices, and key steps to ensure thorough and successful inspections.
Importance of Pre-Shipment Inspection
- Quality Assurance: Ensures products meet the required quality standards.
- Compliance: Verifies adherence to regulatory and industry standards.
- Risk Mitigation: Identifies and rectifies defects before shipment.
- Customer Satisfaction: Ensures customers receive high-quality products.
- Cost Savings: Reduces costs associated with returns, rework, and recalls.
Importance of Pre-Shipment Inspection
Step 1: Preparation
1.1 Review Purchase Order and Specifications
- Task: Carefully review the purchase order, product specifications, and any relevant standards or regulatory requirements.
- Objective: Ensure a clear understanding of what needs to be inspected and the criteria for evaluation.
1.2 Develop an Inspection Plan
- Task: Create a detailed inspection plan outlining the scope, objectives, inspection criteria, sampling methods, and timeline.
- Objective: Provide a structured approach to the inspection process.
1.3 Schedule the Inspection at the Right Time
- Task: Book the inspection for when 100% of production is finished and at least 80% is packed. Allow two to three working days of notice, and make sure the approved "golden sample" is at the factory as the reference.
- Objective: Let the inspector check the full quantity and draw samples from finished, packed goods while there is still time to fix problems before the ship date.
Tip: state in your payment terms that the final payment is released only after the goods pass inspection. This gives the supplier a clear reason to present a compliant batch.
Step 2: On-Site Inspection
2.1 Initial Inspection
- Task: Conduct an initial visual inspection to check for obvious defects and ensure the products match the specifications.
- Objective: Identify any immediate issues that need to be addressed.
2.2 Sampling
- Task: Select a representative sample of the products based on statistical sampling methods (e.g., ANSI/ASQ Z1.4).
- Objective: Ensure that the sample accurately reflects the overall quality of the batch.
AQL sampling uses the lot size and the inspection level to set how many units are checked. For example, an order of 3,000 units inspected at General Level II calls for a random sample of 125 units. Each defect found is classified by severity:
- Critical: The product is unsafe or breaks regulations. Usually no critical defects are accepted.
- Major: A customer is likely to notice the defect and return the product, for example wrong colors or poor stitching.
- Minor: A small imperfection that does not affect use or saleability.
Step 3: Detailed Inspection
3.1 Visual Inspection
- Task: Examine the selected samples for visual defects such as scratches, dents, or color inconsistencies.
- Objective: Ensure the products meet the aesthetic standards.
3.2 Functional Testing
- Task: Test the functionality of the products to ensure they operate as intended.
- Objective: Verify that the products meet performance standards.
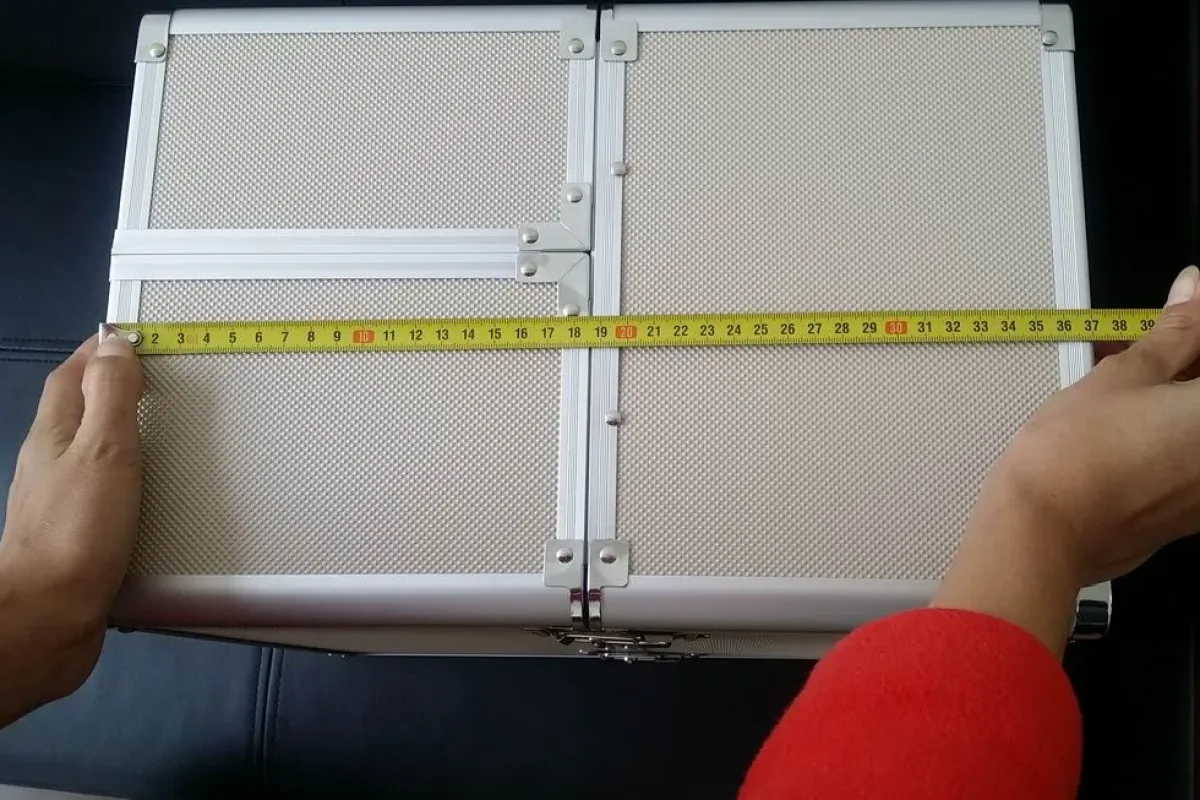
3.3 Dimensional Verification
- Task: Measure the dimensions of the products to ensure they match the specifications.
- Objective: Confirm that the products are within acceptable tolerances.
3.4 Compliance Verification
- Task: Check for compliance with relevant standards, regulations, and certifications.
- Objective: Ensure the products meet legal and regulatory requirements.
3.5 Quantity and Packaging Verification
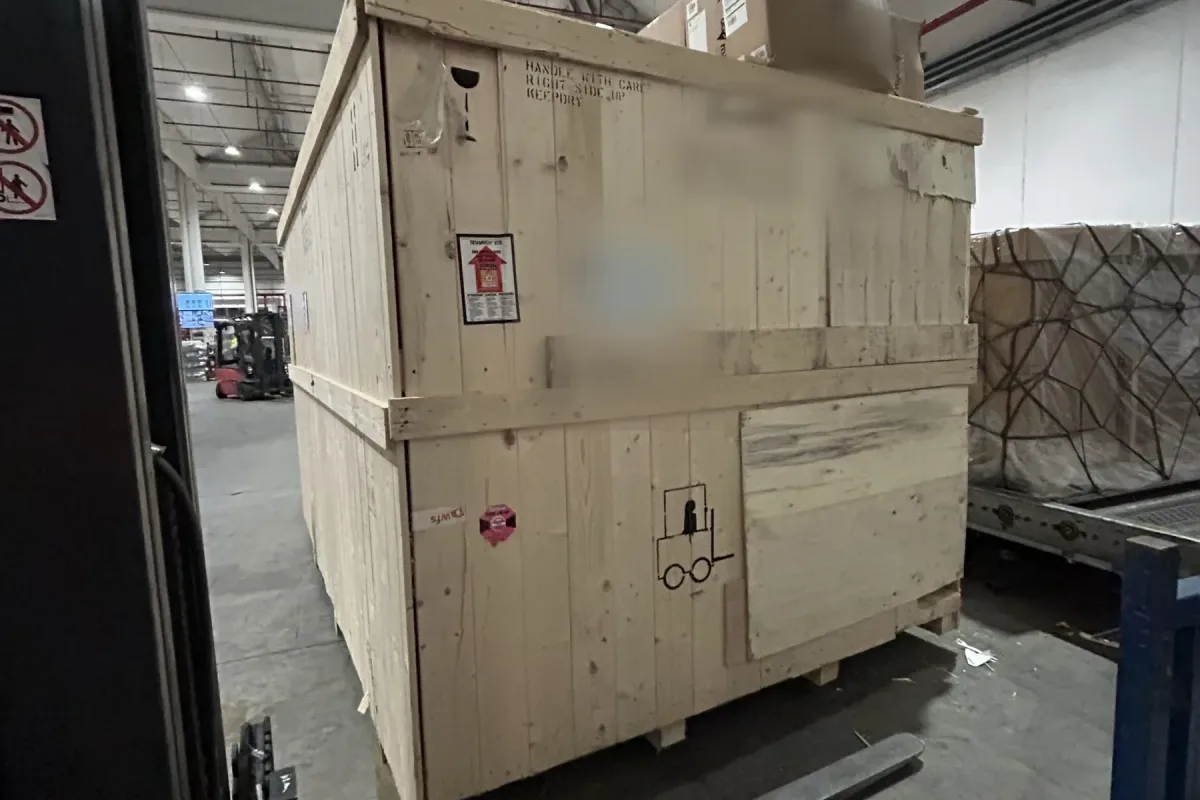
- Task: Count the units and cartons against the purchase order. Confirm the assortment of sizes, colors and styles. Check shipping marks, barcodes, warning labels and country-of-origin markings, and check that export cartons are strong enough for international transport.
- Objective: Prevent short shipments, customs delays and transit damage.
Step 4: Reporting
4.1 Compile Inspection Findings
- Task: Document all inspection findings, including any defects, deviations, and compliance issues.
- Objective: Provide a comprehensive record of the inspection results.
4.2 Create an Inspection Report
- Task: Prepare a detailed inspection report summarizing the findings and providing recommendations for any necessary corrective actions.
- Objective: Communicate the inspection results clearly and concisely.
Step 5: Decision Making
5.1 Review Inspection Report
- Task: Review the inspection report with all relevant stakeholders, including quality control, procurement, and production teams.
- Objective: Make informed decisions based on the inspection findings.
5.2 Approve or Reject Shipment
- Task: Based on the inspection report, decide whether to approve the shipment, ask the supplier to sort or rework the defective goods, negotiate a discount, or reject the batch.
- Objective: Ensure only high-quality products are shipped to customers. Because the report is objective evidence, use it as leverage before you release the final payment.
Step 6: Follow-Up
6.1 Implement Corrective Actions
- Task: Work with the supplier to address any identified issues and implement corrective actions.
- Objective: Ensure that defects are rectified and do not recur in future shipments.
6.2 Re-Inspection (if necessary)
- Task: Conduct a re-inspection to verify that the corrective actions have been successfully implemented.
- Objective: Confirm that the products now meet the required standards.
Best Practices for Effective Pre-Shipment Inspections
- Establish Clear Criteria: Define clear quality standards and inspection criteria to guide the inspection process. Include a defect list with photos of problems from past production runs.
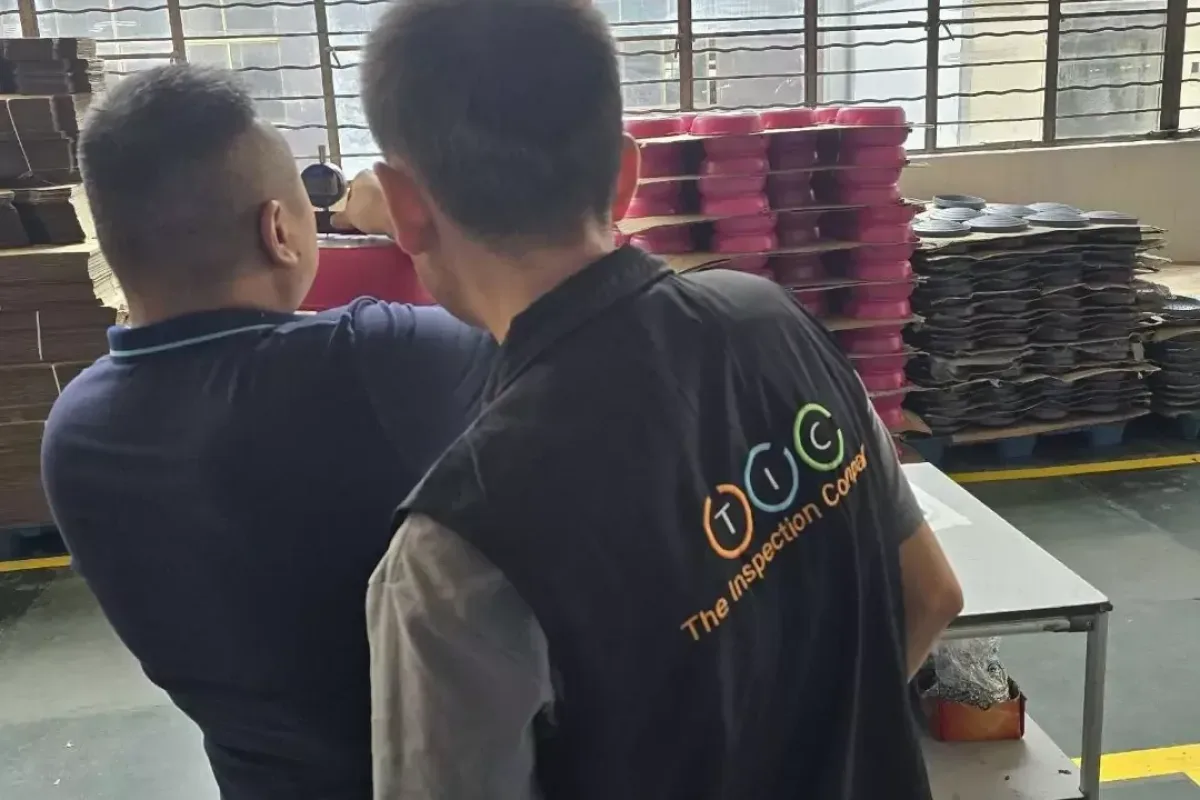
- Use Trained Inspectors: Ensure that inspectors are well-trained and knowledgeable about the product specifications and inspection procedures.
- Insist on Independence: Use a third-party inspector with a strictly enforced anti-bribery policy rather than relying only on the factory's own QC reports.
- Inspect Every Order: Quality can drift between batches even with a trusted supplier, because raw materials, staff or processes change. This is known as "quality fade".
- Leverage Technology: Utilize digital tools and software to enhance the accuracy and efficiency of the inspection process.
- Maintain Transparency: Foster open communication with suppliers to address any issues promptly and collaboratively.
- Regularly Review and Update Procedures: Continuously review and improve the inspection process based on feedback and industry best practices.
Note that a pre-shipment inspection is not the same as a factory audit. The inspection checks the finished goods of one specific order. A factory audit assesses the supplier's systems, capabilities and compliance to judge whether it is a reliable long-term partner.
Conclusion
Implementing a structured and thorough pre-shipment inspection process is essential for ensuring product quality, compliance, and customer satisfaction. By following this step-by-step guide, businesses can effectively manage their pre-shipment inspections, mitigate risks, and enhance their overall supply chain performance. Prioritizing pre-shipment inspections not only protects your brand reputation but also contributes to long-term business success.